Do You Really Need to Knit Your Gauge Swatch? Why Gauge Matters
Three weeks ago, I found myself standing in front of a virtual audience at the Knit Your Wardrobe Summit, sharing my thoughts on one of the most crucial yet often overlooked aspects of knitting: gauge. As I spoke to fellow knitters about the importance of this seemingly mundane detail, I couldn’t help but reflect on my own journey with gauge-related mishaps. Trust me, I’ve had my fair share of frustrations when a project turned out too tight, too loose, or just plain wonky.
Please note that this blog post contains affiliate links. If you make a purchase after clicking one of these links, I earn some yarn money at no extra cost to you!
Was there ever a time where you just poured your heart into knitting a sweater, only to realize it fits like a glove on someone three sizes smaller? Or made an adorable hat, only to see that it's large enough to fit an elephant's head? Frustrating, right? (I've been there, and let me tell you, it's not a fun place to be). Welcome to the world of gauge in knitting.
What is gauge?
Alright, let’s dive right in. What exactly is gauge, and why does it matter? In the world of knitting, gauge refers to the number of stitches and rows within a certain measurement, typically measured per 4 inches (10cm) or per inch (2.5 cm). It serves as a blueprint for your project, ensuring it turns out as envisioned. But gauge isn’t really just a number; it’s the vital foundation that dictates the size, fit, and appearance of your project.
Knitting your gauge swatch is the difference between a project that’s a joy to wear and one that’s destined for the back of the closet. Imagine spending hours knitting a sweater, only to discover it’s too small to fit over your head. Or knitting a hat that ends up big enough to double as a tea cozy. Not exactly the outcome you were hoping for, right? Without nailing the correct gauge, you risk ending up with a garment that’s ill-fitting, consumes more yarn than anticipated, or doesn’t match your vision. Trust me, I’ve learned this the hard way. There’s nothing more frustrating than realizing you’re halfway through a project and need to frog it because the gauge was off.
Now, let’s simplify this. Think of gauge as how tightly or loosely you knit. It’s that simple. When you match the gauge stated in your pattern, or if you’re using a made-to-measure knitting pattern that lets you use any gauge (like mine), then you’re ensuring your project turns out the right size and uses the correct amount of yarn.
So, understanding and adjusting your gauge is not about making things complex. It’s about ensuring the success of your knitting project. It’s one of the most useful tools in your knitting toolbox.
Common Mistakes in Understanding Gauge
Now, a lot of knitters, especially beginners, tend to stumble on a few usual mistakes or misunderstandings when it comes to gauge.
Ignoring Gauge
Firstly, there’s the issue of ignoring the gauge altogether. Many knitters either assume it’s not important for their project or that they can guess it without a swatch. This approach often leads to unexpected results, causing you to undo or frog your work OR not wearing it in the end.
Inconsistent Tension
Another frequent mistake is inconsistent tension. For beginners, it’s common to have inconsistent tension, and that’s okay, it's just part of the process. And to clarify, inconsistent tension means that you might hold your yarn too tight and then too loose and sometimes just right, but overall, the tension is a little all over the place, which basically makes your gauge swatch moot. I actually recommend using your gauge swatch as practice, to see how your tension is looking. You might notice it is inconsistent in the beginning and then it evens out! All that to say, it's important to maintain the same knitting tension throughout your project, as changes in tension will affect your gauge and thus the size of your finished piece.
Knitting Differently than the Final Project
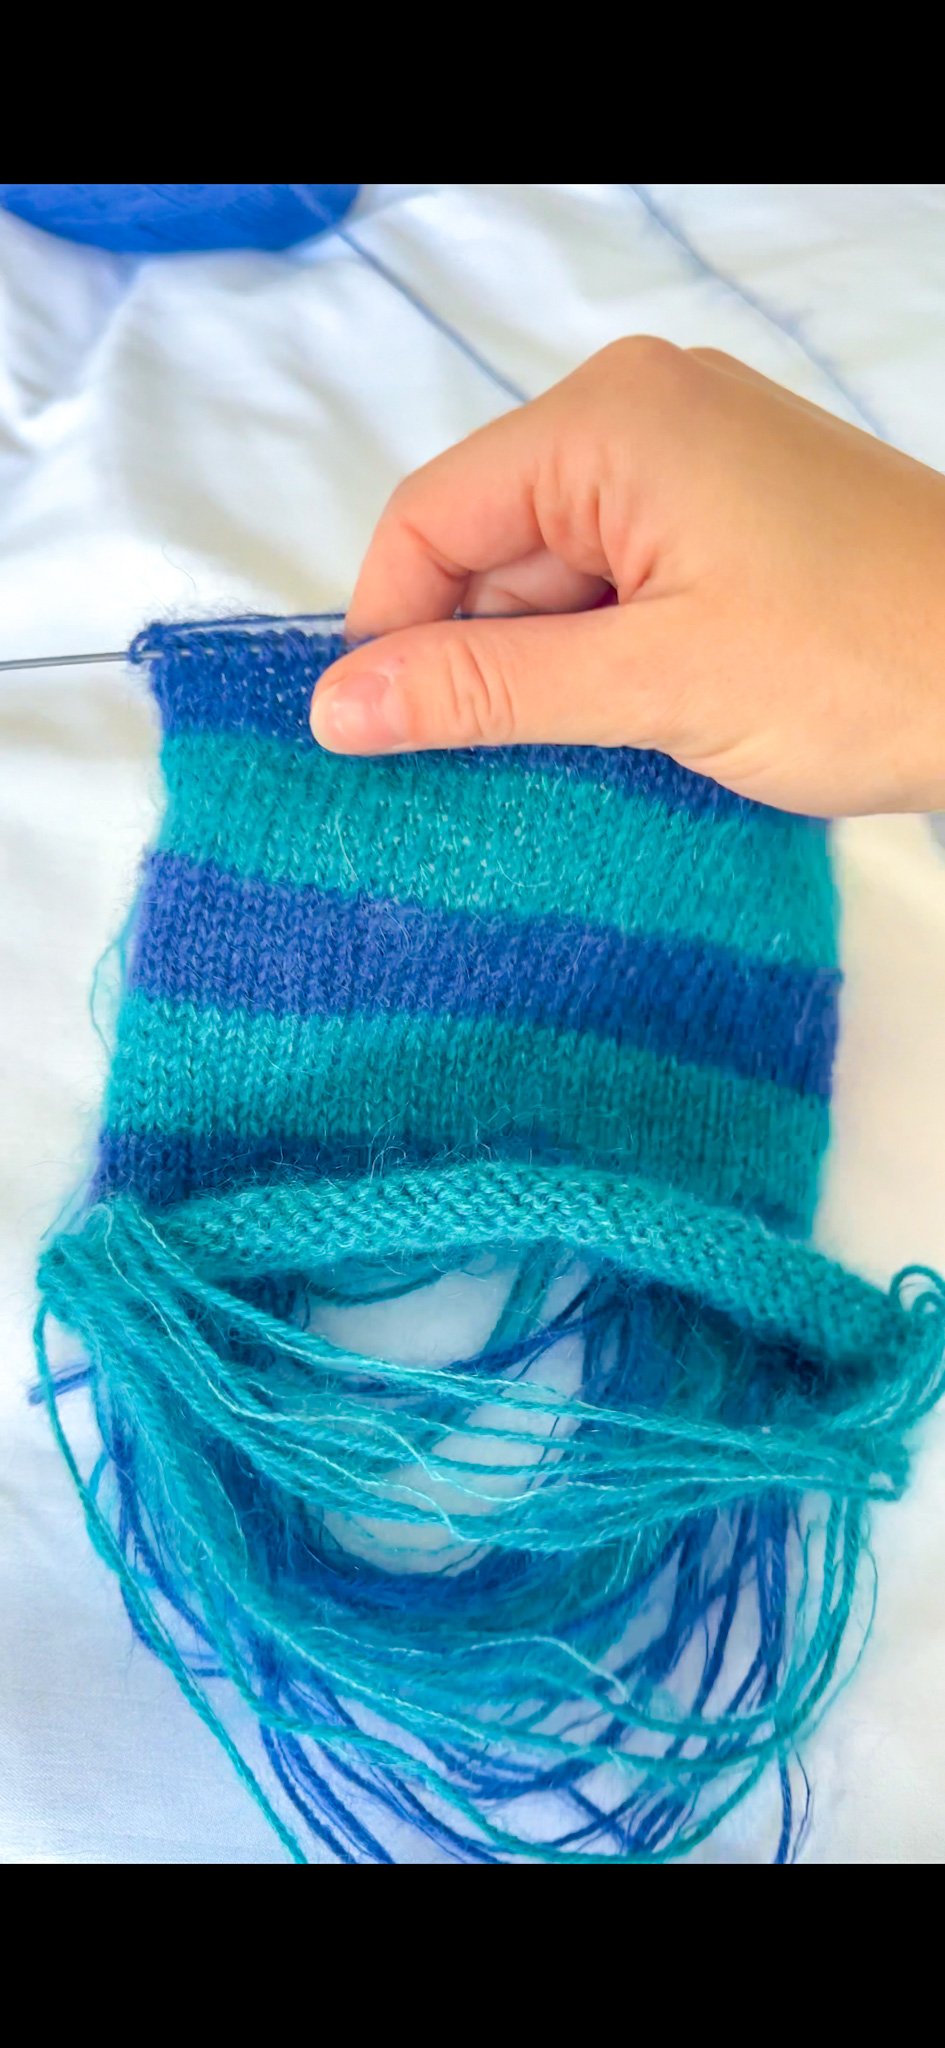
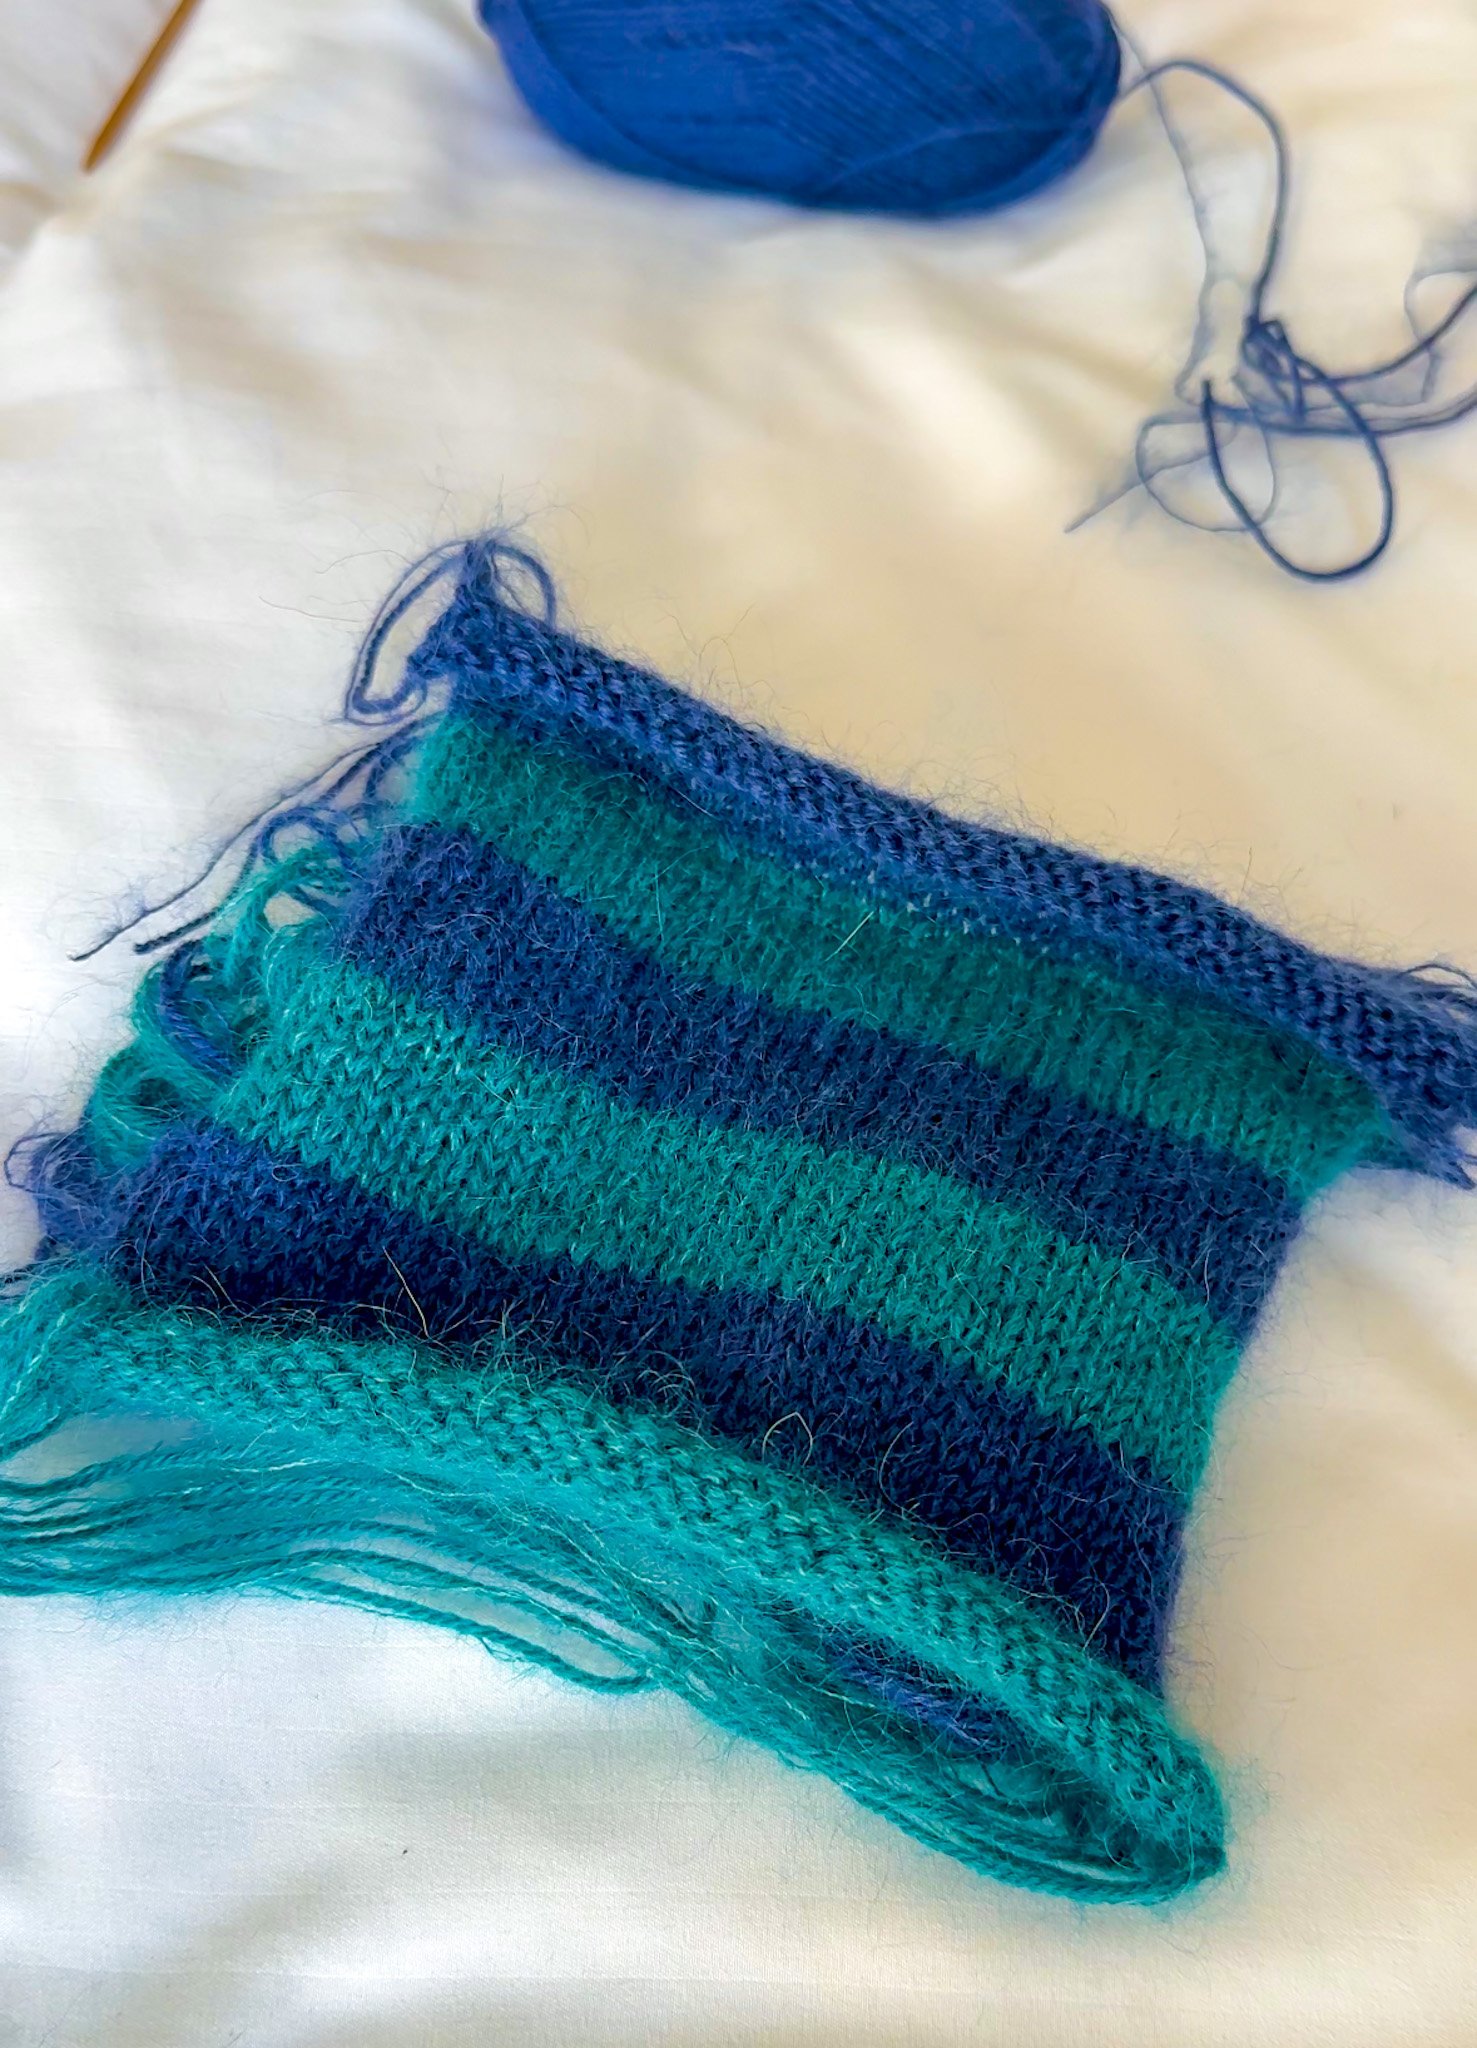
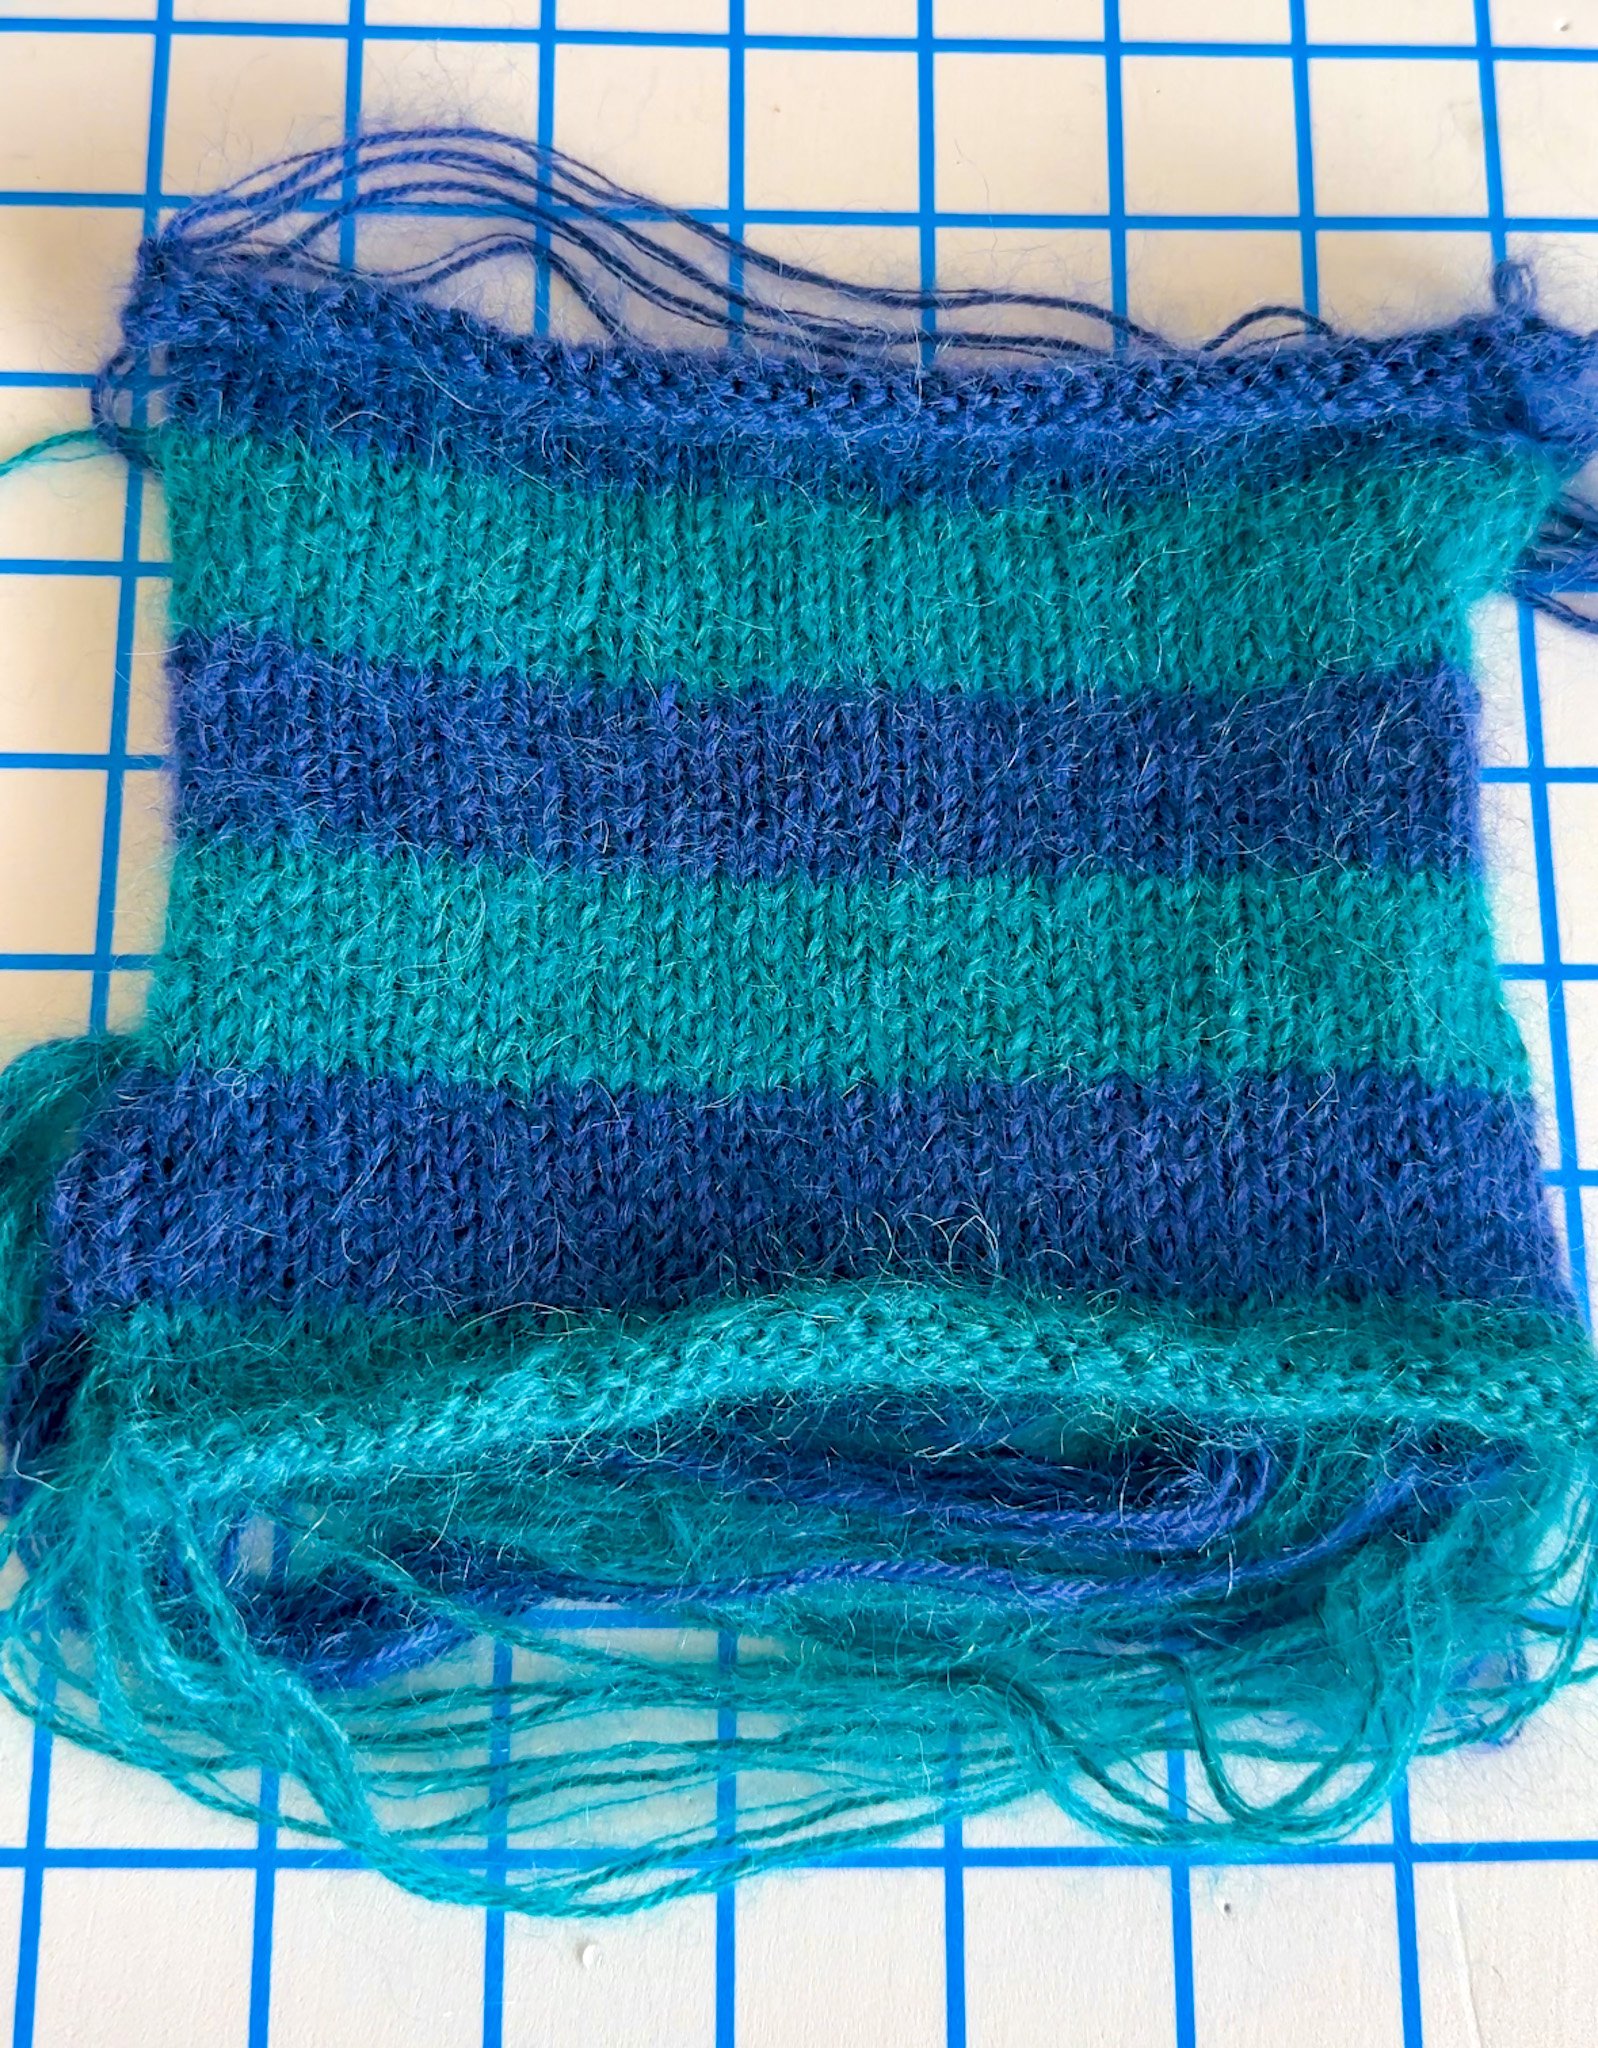
Along the same note, another very common mistake is knitting the gauge swatch differently than you would your final project. Specifically, many knitters knit their gauge swatches flat, which is how the gauge swatch on the image above was knit. That’s perfectly fine for projects that are knit flat. However, for projects that will be knit in the round (like the Staple Sock), you will want to do your swatch in the round as well. This is because your tension is different when knitting flat vs. in the round, and your gauge might not end up being accurate.
Incorrect Swatch Size
Then there’s the issue of swatch size. Often, knitters make their gauge swatches too small, which doesn’t provide an accurate measure of the stitches and rows per inch. This can lead to miscalculations in sizing.
Forgetting to Block
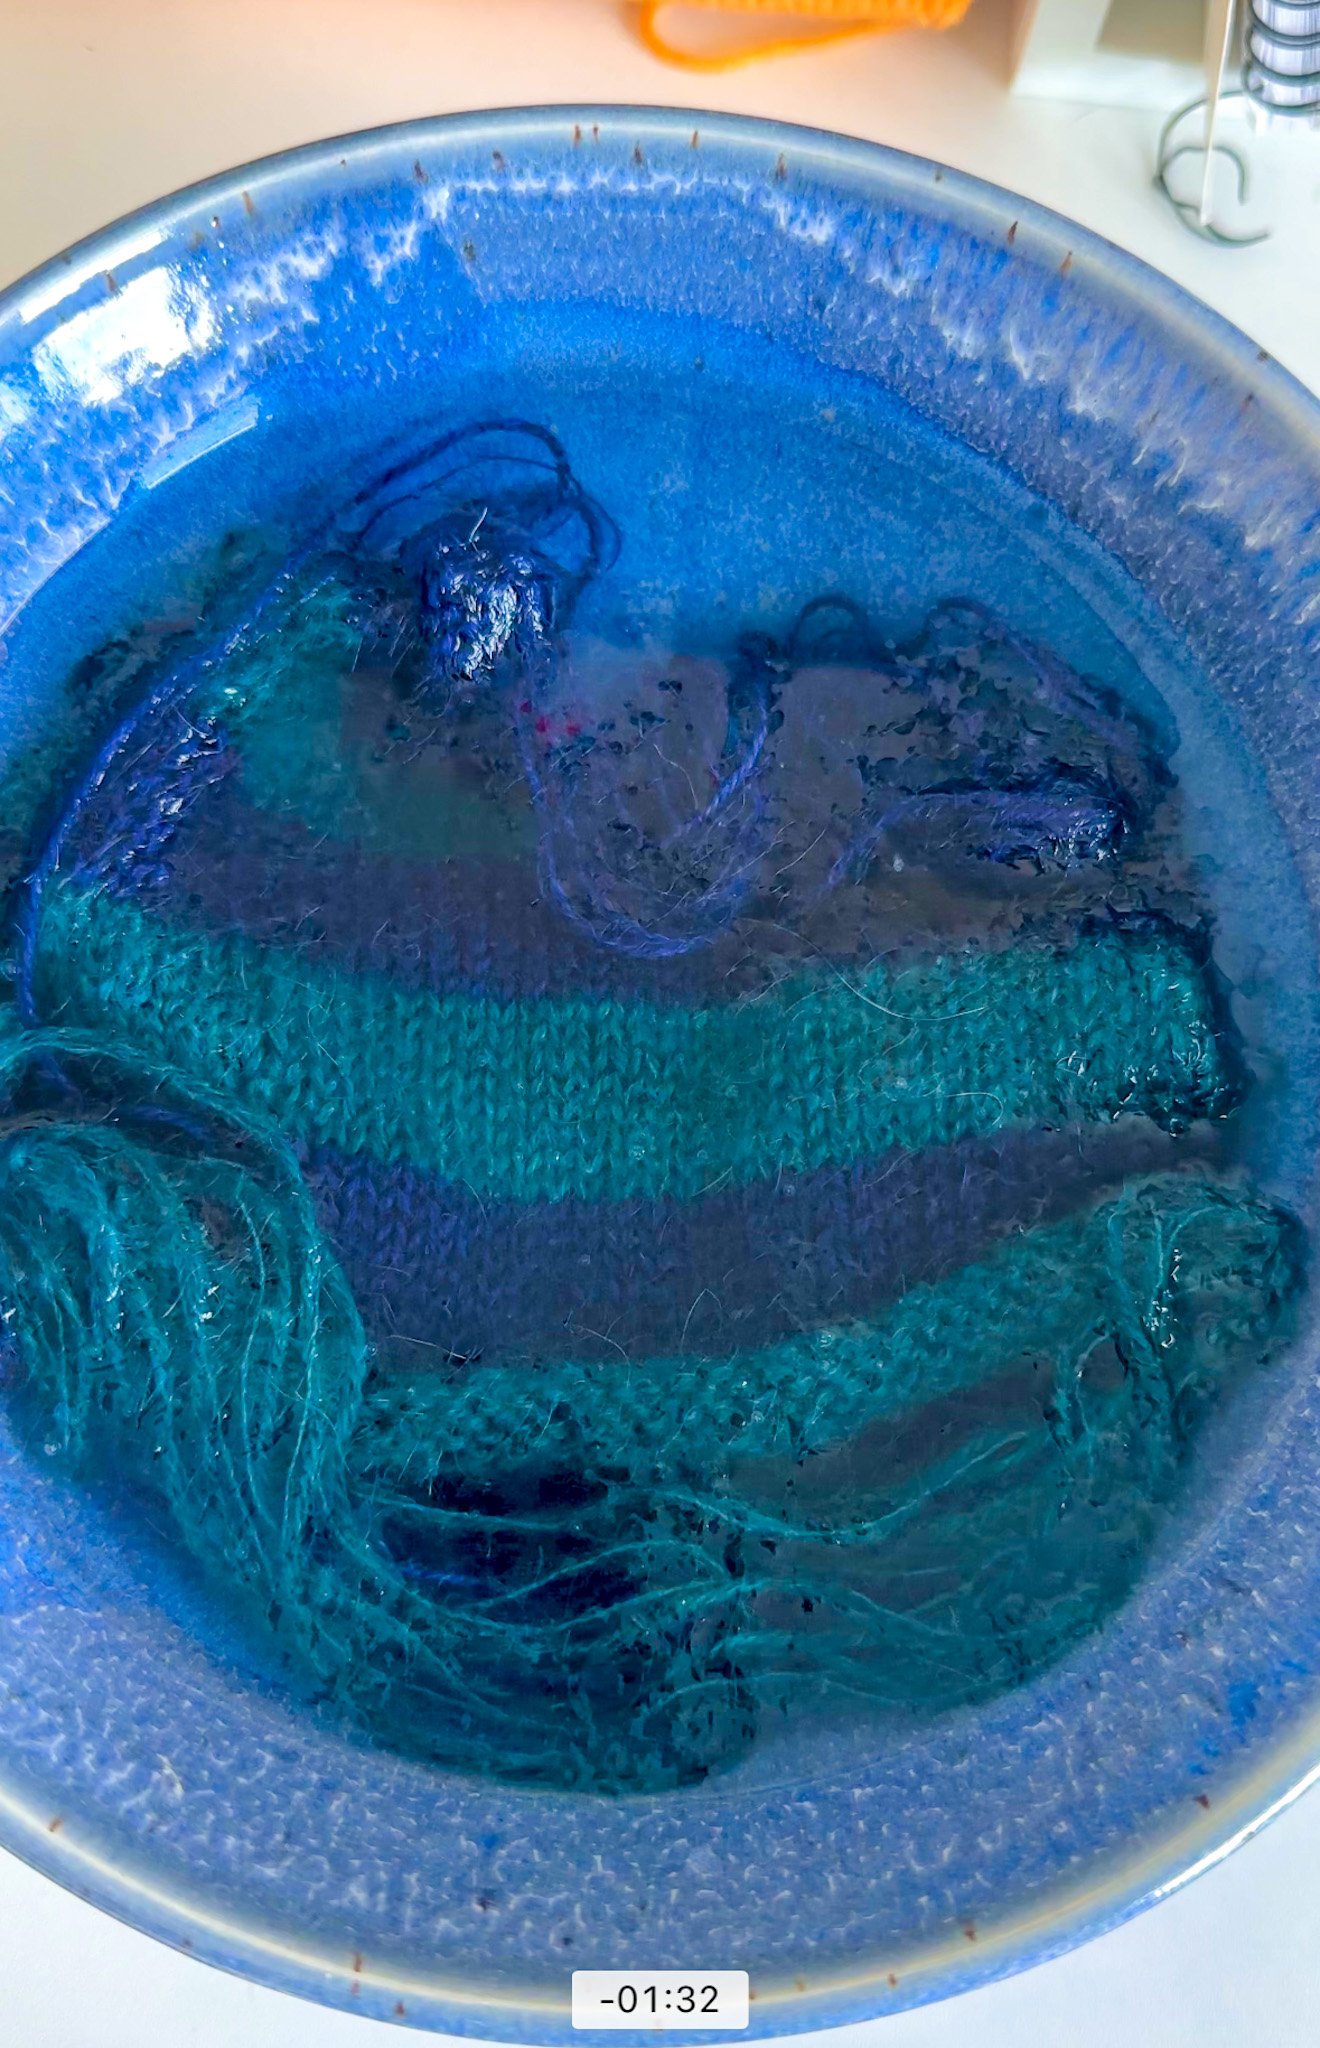
And finally, forgetting to block. Blocking your swatch just as you would the final project is essential for an accurate gauge measurement.
When Gauge Goes Wrong
Okay, so we laid out common mistakes and misunderstandings with gauge. But to hammer home the importance of gauge, I want to showcase what happens when gauge doesn’t go as planned. Let’s say our goal is to knit a sweater that fits just right. It has a few extra inches to move around in, the length is good, and it fits around our neck and arms just right.
If your gauge has fewer stitches than what is required, your garment will end up being too big. And if your gauge has more stitches than what is required, your garment will end up being too small. This comparison is a powerful reminder of why we measure gauge: to get the fit just right.
The Impact of a Single Stitch: How being off by one stitch affects your project
Okay, so we just saw how gauge affects the overall size of our projects. But let’s drill down even further to understand the impact of being off by just one stitch. Imagine you’re swatching for a sweater, and you’re aiming for a perfect 40-inch fit around the bust. The pattern’s gauge specifies 10 stitches across for every 4 inches, which means you cast on 100 stitches based on that gauge.
Now, let’s say your swatch is slightly off, with 11 stitches across those same 4 inches. That might not seem like much, but let’s do the math. With the required gauge of 2.5 stitches per inch, those 100 stitches should give you exactly 40 inches. But with your gauge of 2.75 stitches per inch, those 100 stitches shrink your sweater’s bust to just 36.3 inches, nearly 4 inches too tight!
Even having just one extra stitch per inch throughout a garment can result in a much smaller fit than intended. It’s a clear example of how precision in your gauge can mean the difference between a well-fitted sweater and one that might not fit at all. So, remember, when it comes to gauge, every stitch counts.
So, next time you’re tempted to skip the gauge swatch and dive right into your project, well, think again. Taking the time to knit a swatch and check your gauge might seem tedious, but it can save your from a world of knitting woes down the line. Remember, a little extra effort upfront can make all the difference in the outcome of your project.
Your FREE Gauge Tracker
Got a handle on gauge now? Great! Now, let me share something super handy: Your Very Own Knitting Gauge and Project Log. It’s totally FREE! Just hit the link below to get yours.
What’s inside:
Gauge Tracker: Keep tabs on all your gauge swatches for each project. No more second-guessing for lost notes or forgetting what size needles you used.
Project Log: Dump all your project details and notes here. Yarn choices, pattern modifications, you name it! It’s all in one spot.
Project Dashboard: Get a quick look at looking at your knitting habits with insightful metrics like what yarns you use most, and how long your projects are. And there’s a nifty chart to track your finished project fit. Sweet, right?
It’s a nifty tool for staying organized and keeping your knitting life in check. Overall, it’s a super handy log to use as you knit your wardrobe. No need to bring a notebook!
Now it’s your turn! What’s your experience or relationship with knitting gauge swatches? Have any questions? Share your thoughts in the comments below!
