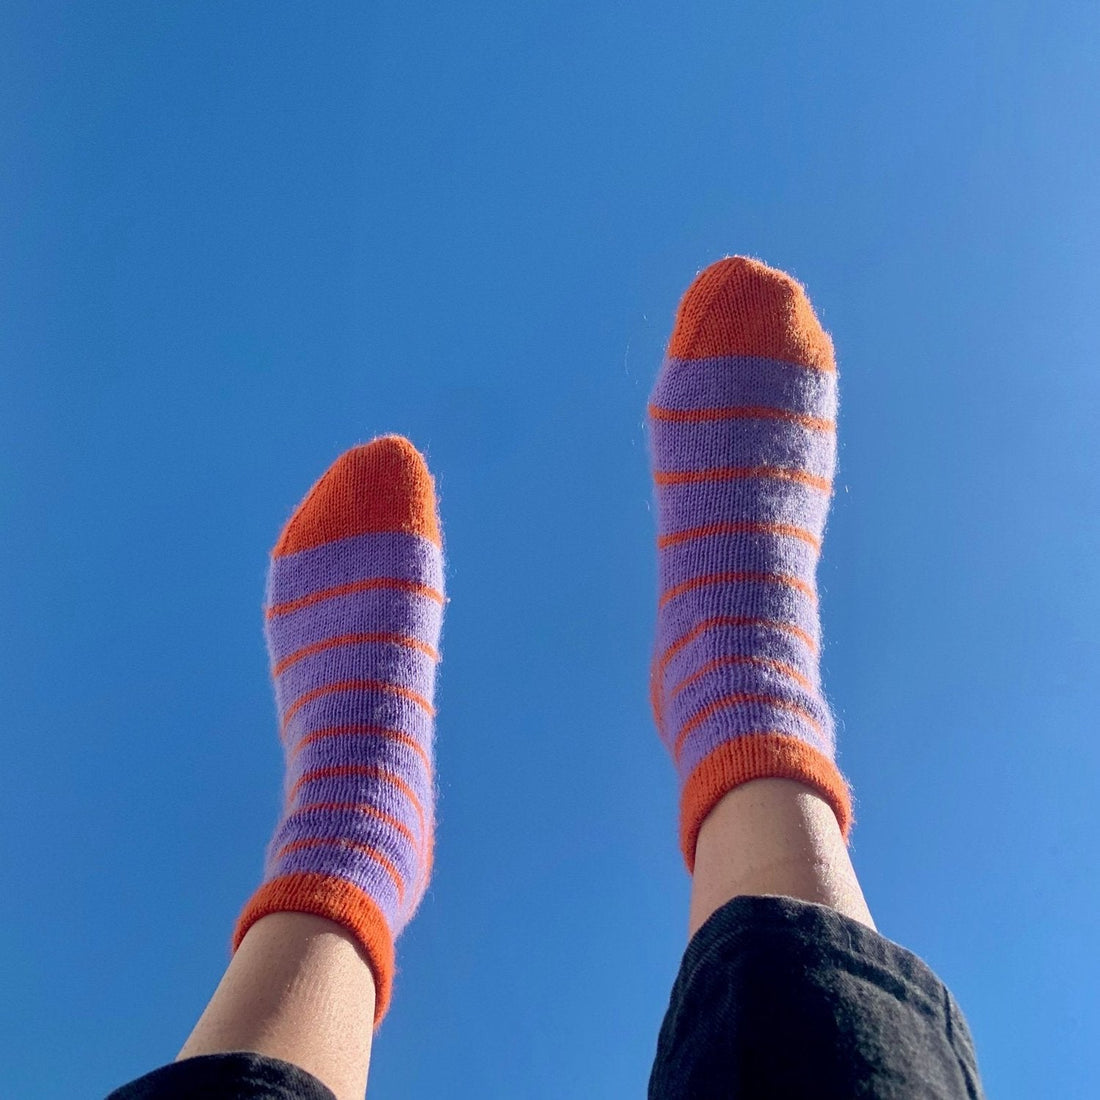
Whether you're a beginner or a more experienced knitter, knitting your very first pair of socks is a bit intimidating. And if you've already tried making a pair or two and are a little disappointed with the results, I feel you. Sock knitting is really a whole other world, but with a few tips, you'll be whipping up pairs and pairs of pretty, functional, and well-fitting socks in no time. Keep reading for my top 10 tips for knitting socks!
This post contains affiliate links. If you make a purchase after clicking one of those links, I earn some yarn money at no extra cost to you.

1. Use sock yarn
If you've already tried making a sock or two but didn't love how they turned out, consider what kind of yarn you used. I tried making my first pair of socks when I was 12, and I made them with a bulky acrylic yarn. Now, those socks had other issues, but the yarn I used made the end result ill-fitting and really not functional. As a result, I never wore them.
Dedicated sock yarn is typically made with 75-90% wool (usually either merino or superwash) and 25-10% nylon. Wool is great for socks because it has a natural elasticity, which helps your socks stretch over and hug your feet wear after wear. It is also naturally antibacterial and odor resistant, so you only need to wash your socks every 3-5 wears! Nylon gives the wool extra strength and durability to help your socks live long and happy lives.
As you begin your sock knitting journey, I recommend trying out different blends to see which you like best. I personally prefer 75% wool and 25% nylon yarn for socks I plan on wearing regularly. I reserve my 90% wool and 10% nylon sock yarn for cozy socks I wear while on the couch.
If you have a wool allergy, you can try out Berocco’s Comfort Sock, which is a wool-free sock yarn. Also, check out this blog post on wool facts and how many people actually misidentify wool allergies!
2. Make a small swatch in the round
While I'm a big advocate for ALWAYS making a gauge swatch (yes, I can hear you groaning from here), I find it is especially important to swatch for socks. No one wants to wear socks that are too tight or too loose, and finding your gauge can help make sure your socks will fit just right.
If you're using fingering weight sock yarn, you only need to make a 1" swatch rather than a traditional 4" swatch. I recommend casting on 1.5 times the amount of stitches you expect to make one inch to get an accurate gauge. (To do this, multiply the number of stitches the yarn label says will create one inch by 1.5.)
It is important to make your swatch in the round, as this most closely resembles how your stitches will behave within the sock. If you've never made a swatch in the round, I recommend this video from Knitty Natty.
3. Try out different types of knitting needles
When it comes to knitting socks, there are three types of needles you can use:
- Double pointed needles (DPNs)
- Long circular needles (36") to use with the magic loop method
- 9" circular needles
Every sock knitter has their own preference on which type of knitting needle they prefer. My personal favorite is 9" circular needles because you can just keep knitting around and around. However, because of their small size, some people experience wrist pain from them. (It is important to note that if you knit with 9" circular knitting needles, you will also need to have a set of DPNs or long circular needles for the toe shaping.)
However, if you're a beginner knitter, I recommend that you start with 9" circular knitting needles because they are easier to understand and use than DPNs. Also, 9" circulars don't require you to learn an additional technique for magic loop, and you will be learning several techniques as is during the sock knitting process.
If you’re looking for a recommendation, I love Chiagoo’s 9” circular needles. While I typically prefer wooden needles, I learned the hard way the 2-3mm needles are essentially toothpicks and snap very easily. As a result, I now prefer metal for my 9” circulars.
4. Make them made-to-measure
Most sock knitting patterns base their measurements on standard shoe sizes. They follow the general rule that your ball of foot measurement is about the same size as your leg measurement. While this is a solid standard that might work for most people, the way to get a sock that won’t be too loose or too tight is to knit a sock that is made to measure.
My interactive made-to-measure sock pattern, the Staple Sock, is an in-depth made-to-measure pattern that is customizable to your unique foot and leg measurements where it does all the math for you! These socks fit everyone’s feet like a dream, and the simple design will make you want to add a pair to every outfit. You can even customize the length, add stripes, or use contrasting colors to make them perfect for you or as a gift. (A reference on average foot sizes is included in the pattern if you want to make them as a surprise gift for someone.)

This pattern also allows you to use any size gauge, needles, and yarn, making it easy to bust your stash and whip up some socks.
If you’ve never worked with one before, check out this blog post that goes over exactly what made-to-measure knitting patterns are and what you can expect from them. If you have worked with them before, then you will know that they typically involve having the knitter do some math.
In the Staple Sock pattern, as an interactive one, does the math automatically. Stitches and rows magically appear where you need them. So, all the knitter needs to do is, well, knit! Check out how Interactive Knitting Patterns work.
5. Use thin stitch markers
Like with other knitting projects, you're going to need some stitch markers for making your socks. However, most stitch markers can be quite thick compared to the fingering-weight sock yarn. Thicker stitch markers can cause the stitches around them to look stretched and have a different gauge than your other stitches.
To avoid stitches that look stretched, you can use thin stitch markers like lightbulb stitch markers. Lightbulb stitch markers are thin and perfect to use with sock yarn to keep your stitches nice and even throughout. I bought this set, and they work perfectly for all my sock-knitting needs. Another option is the thin stitch marker designs from Twice Sheared Sheep. They have a lot of designs to choose from, as well as removable and non-removable options, and their sizes work great for sock knitting.
6. Use a row counter stitch marker
One common problem that can happen when knitting the leg or foot of a pair of socks (as well as sweater sleeves) is knitting them in slightly different lengths. My favorite way to make sure both the leg and foot are the same lengths is to use an original chain or circular chain row counter marker from Twice Sheared Sheep.
Rather than keeping track of your rows in your notes app, in a notebook, or with a mechanical row counter (all of which can be easily misplaced and lost), these row counter markers live on your needles. All you have to do is move to the next number chain when you reach the counter to keep track of how many rows you have knitted. These row counters also come with a little clip that you can move from chain to chain to keep track of your tens' place.
These row counters actually come in handy so much, and I couldn't recommend them enough as an addition to your knitting practice. And Twice Sheared Sheep has some sweet designs!
Bonus tip: Never forget to increase or decrease again with Twice Sheared Sheep’s increase and decrease markers! These come in handy when doing your gusset, heel, and toe shaping, trust me! (And of course, they are super handy for any knitting project involving increases and decreases.)
7. Beginner knitters: start with cuff-down socks that have a short row heel
When you're working on your first sock knitting project, it is totally common to feel a bit overwhelmed, especially if you're still pretty new to the art of knitting. Socks require different knitting techniques that aren't the most common in other projects. Because of this, they often require a knitter to learn several new techniques.
In my opinion, the easiest sock knitting patterns that are most suitable for beginner knitters are ones that are worked cuff down and with a short row heel. (Oh hey! That's how my pattern, the Staple Sock, is worked!) I recommend this type of sock design to beginner knitters because you start the sock with basic techniques you are most likely familiar with, like stockinette in the round or maybe a ribbing of knit 1 purl 1. Essentially, it's like knitting a super small beanie. Then, once you get to the heel, you may have more confidence and momentum to keep going.
I recommend that beginners start with a short row heel because other heel techniques can be more complicated and (in my opinion) frustrating because they usually require picking up a number of stitches and using DPNs. Plus, short rows are also a great technique to learn for your knitting practice. They can be used to make pockets and more fitted sleeves where they connect with the shoulder.
8. Weave in ends on top of the foot
When it comes time to weave in your ends, try your best to weave them in on the top of the sock. This tip is especially helpful for people who have sensitive feet because some people find standing on that woven-in end can be uncomfortable. However, this tip can also be good for keeping your woven-in end protected, as there is less friction rubbing against it on the top of the sock versus the bottom.
9. Care for your socks
While you can sometimes get away with not blocking before you wear, socks are fine enough that not blocking can have a significant impact on fit. I find the best results from blocking my socks with a dedicated sock blocker, but you can block them with your usual method as well.
To keep your socks happy and healthy for years to come, it is important to care for them properly. After blocking them that first time, you don’t really need to block them again unless you want to. Most sock yarns allow you to machine wash and hang dry, which is what I do and they continue to fit great. (Be sure to check your yarn label for accurate care instructions.) And, we said this above but just to emphasize, you only need to wash your socks every 3-5 wears! Washing more often than that can do more harm to your socks than good.
Oh, and another little tip (that is kind of weird but also nifty) is to keep your toenails trimmed! Long or sharp toenails can wear at the fibers and cause your toes to poke through over time. Of course, you can always learn how to darn your socks to repair them, but you shouldn’t need to if you keep your toenails in check.

10. Don’t fall victim to second sock syndrome!
Second sock syndrome is similar to sleeve island – when you finish knitting one and you just aren’t motivated to knit the other. One way to help avoid second sock syndrome is to cast on your second sock right away. If you don’t, it is very likely you’ll cast on another project instead!
If you’re a beginner sock knitter, I highly recommend checking out my Staple Sock pattern. It is perfect for you if you identify as a confident beginner or intermediate knitter, and it is a great pattern for making your very first pair of socks. I include written step-by-step instructions and video references for every technique used. There are also images and tips throughout to help you along the way! Socks are incredibly fun to make, and if you’re interested in making a pair that will fit you ~just right~, then give this pattern a shot. It really is the ultimate sock pattern.
Was this blog post helpful? Have any questions? Share in the comments!