
How To Make a Slip Knot for Knitting
If you’re reading this post, then welcome to the wonderful world of knitting! I’m so glad that you’ve chosen to take up this amazing craft and I’m here to help you become an expert knitter. One of the first steps to becoming a proficient knitter is learning how to make a slip knot. If you’ve never heard of a slip knot, don’t worry - I’m here to show you how it’s done. In this blog post, I’ll be walking you through exactly how to make a slip knot, as well as providing some troubleshooting tips to ensure your success. By the end of this post, you’ll be ready to do the very first step in any knitting project!
What is a slip knot?
A slip knot is one of the most essential knots to learn in knitting and crochet, as it is the first step in starting knitting projects. A slip knot is a small, adjustable loop that can be created quickly with yarn. It has a special feature that makes it ideal for knitting: the knot can be easily adjusted when too loose or too tight by simply tugging on the tail. This makes it unlike any other knot, and is very handy for projects big and small.
How to make a slip knot
Check out the video below as well as the step-by-step instructions beneath it to learn how to make a perfect slip knot. In this tutorial, I am using the Everyday Merino yarn, which is my absolute favorite superwash worsted weight yarn, in the color Dove. I am also using my go-to needles, which is part of the Lykke Driftwood Shorties Interchangeable Needle Set. (Please note that these links are affiliate links. If you make a purchase after clicking, I earn some yarn money at no extra cost to you!)
Video Tutorial:
Step 1

Drape the yarn over your forefinger and middle finger.
Step 2

Wrap the yarn around your fingers, and then pinch the yarn between your forefinger and thumb.
Step 3
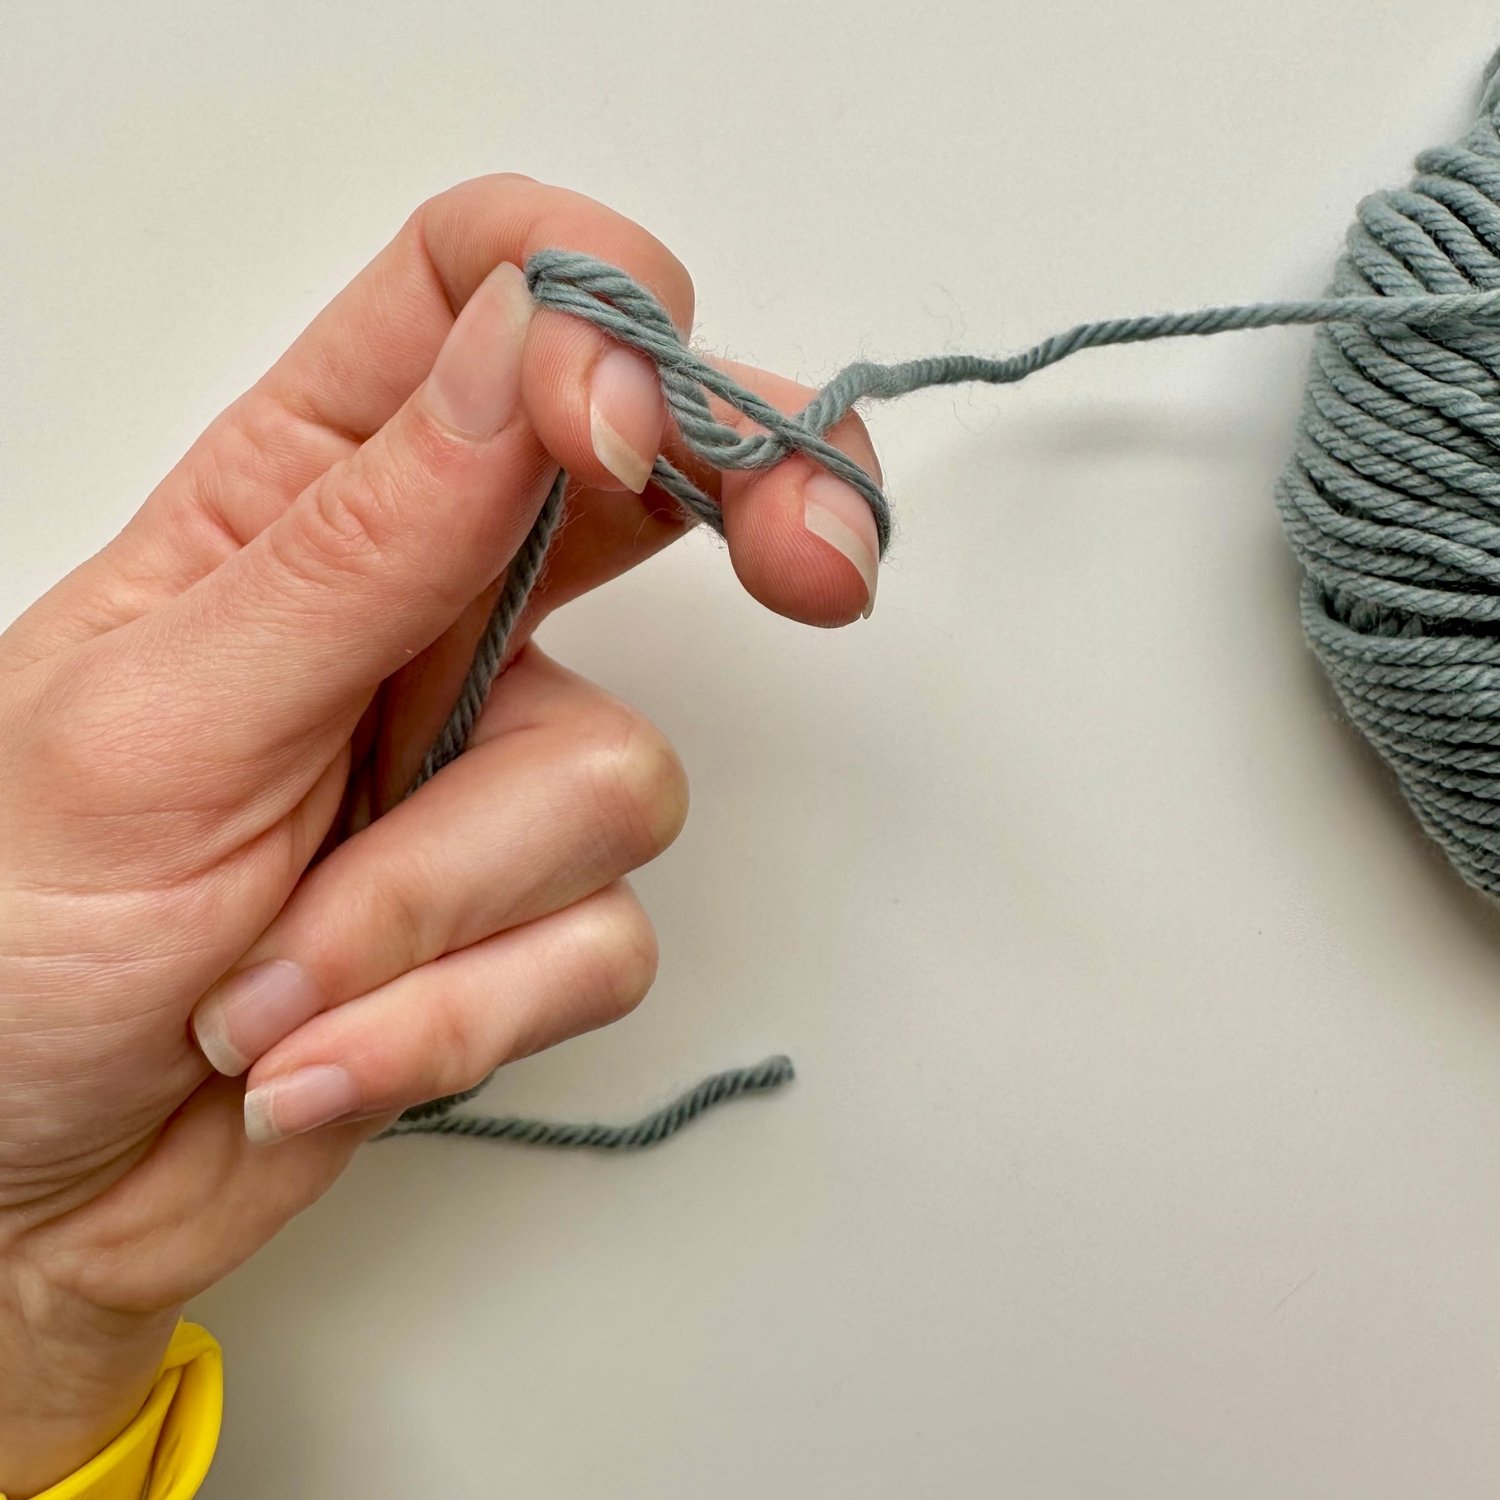
Cross the working yarn over the yarn you’re holding down from right to left. Continue wrapping it around to the back of your fingers. Tuck your working yarn under the yarn that is being held taught on the back of your fingers.
Step 4

Grab your working yarn and pull it up.
Step 5

Remove your forefinger and middle finger from the loop you created around them. Continue pulling the working yarn while also pulling the yarn tail.
Step 6

You should end up with a slip knot that looks like this.
Step 7

Place the loop on your knitting needle.
Step 8

Pull the ends until the knot hugs the needle. It should be able to slide easily along the needle.
Step 9

Now, you have created a successful slip knot and you have your very first cast on stitch!
Troubleshooting tips for making a slip knot
When making a slip knot for knitting, the loop should be just the right size. If the loop is too small, it won't slide through the crochet hook or needle easily or at all. On the other hand, if the loop is too large, the tail end of the yarn won't be able to tighten the knot to the right level of security.
If your loop is too big, simply pull on both strings to tighten it up around the knitting needle you will be casting onto. If your loop is too tight, take the knot off the needle if it is currently on and pull the strings until the knot comes undone. Then, redo the knot.
Making a slip knot is often the most important first step in a knitting project. You can now use this knowledge to start your knitting journey and create amazing projects! Whether you’re knitting a cozy beanie or the perfect sock, knowledge of how to make a slip knot will be of invaluable use. So get to it, and start creating masterpieces with those needles and string!