Knitsgram, KnitTok, Ravelry, and wherever else you may have an online knitting community, are all extremely visual worlds. And whether you are showing off your finished objects just for fun, hoping to get picked for test knits, or looking to grow a knitting-related business, it is vital to have photos and videos that people are drawn to. That is why we are giving some simple tips to improve your knit pics and my favorite editing filter for iPhone cameras to make your pictures and videos pop. Let’s do it!
1. Clean your lens!
If you’re like me, then you are using your smartphone to take pictures and videos. And, if you’re like me, you probably get fingerprints and smudges all over your camera lens on a regular basis. Before starting your next photography sesh, keep a microfiber cloth nearby and give that lens a nice wipe. Your pictures and videos will be SO much better off.
2. Get a tripod
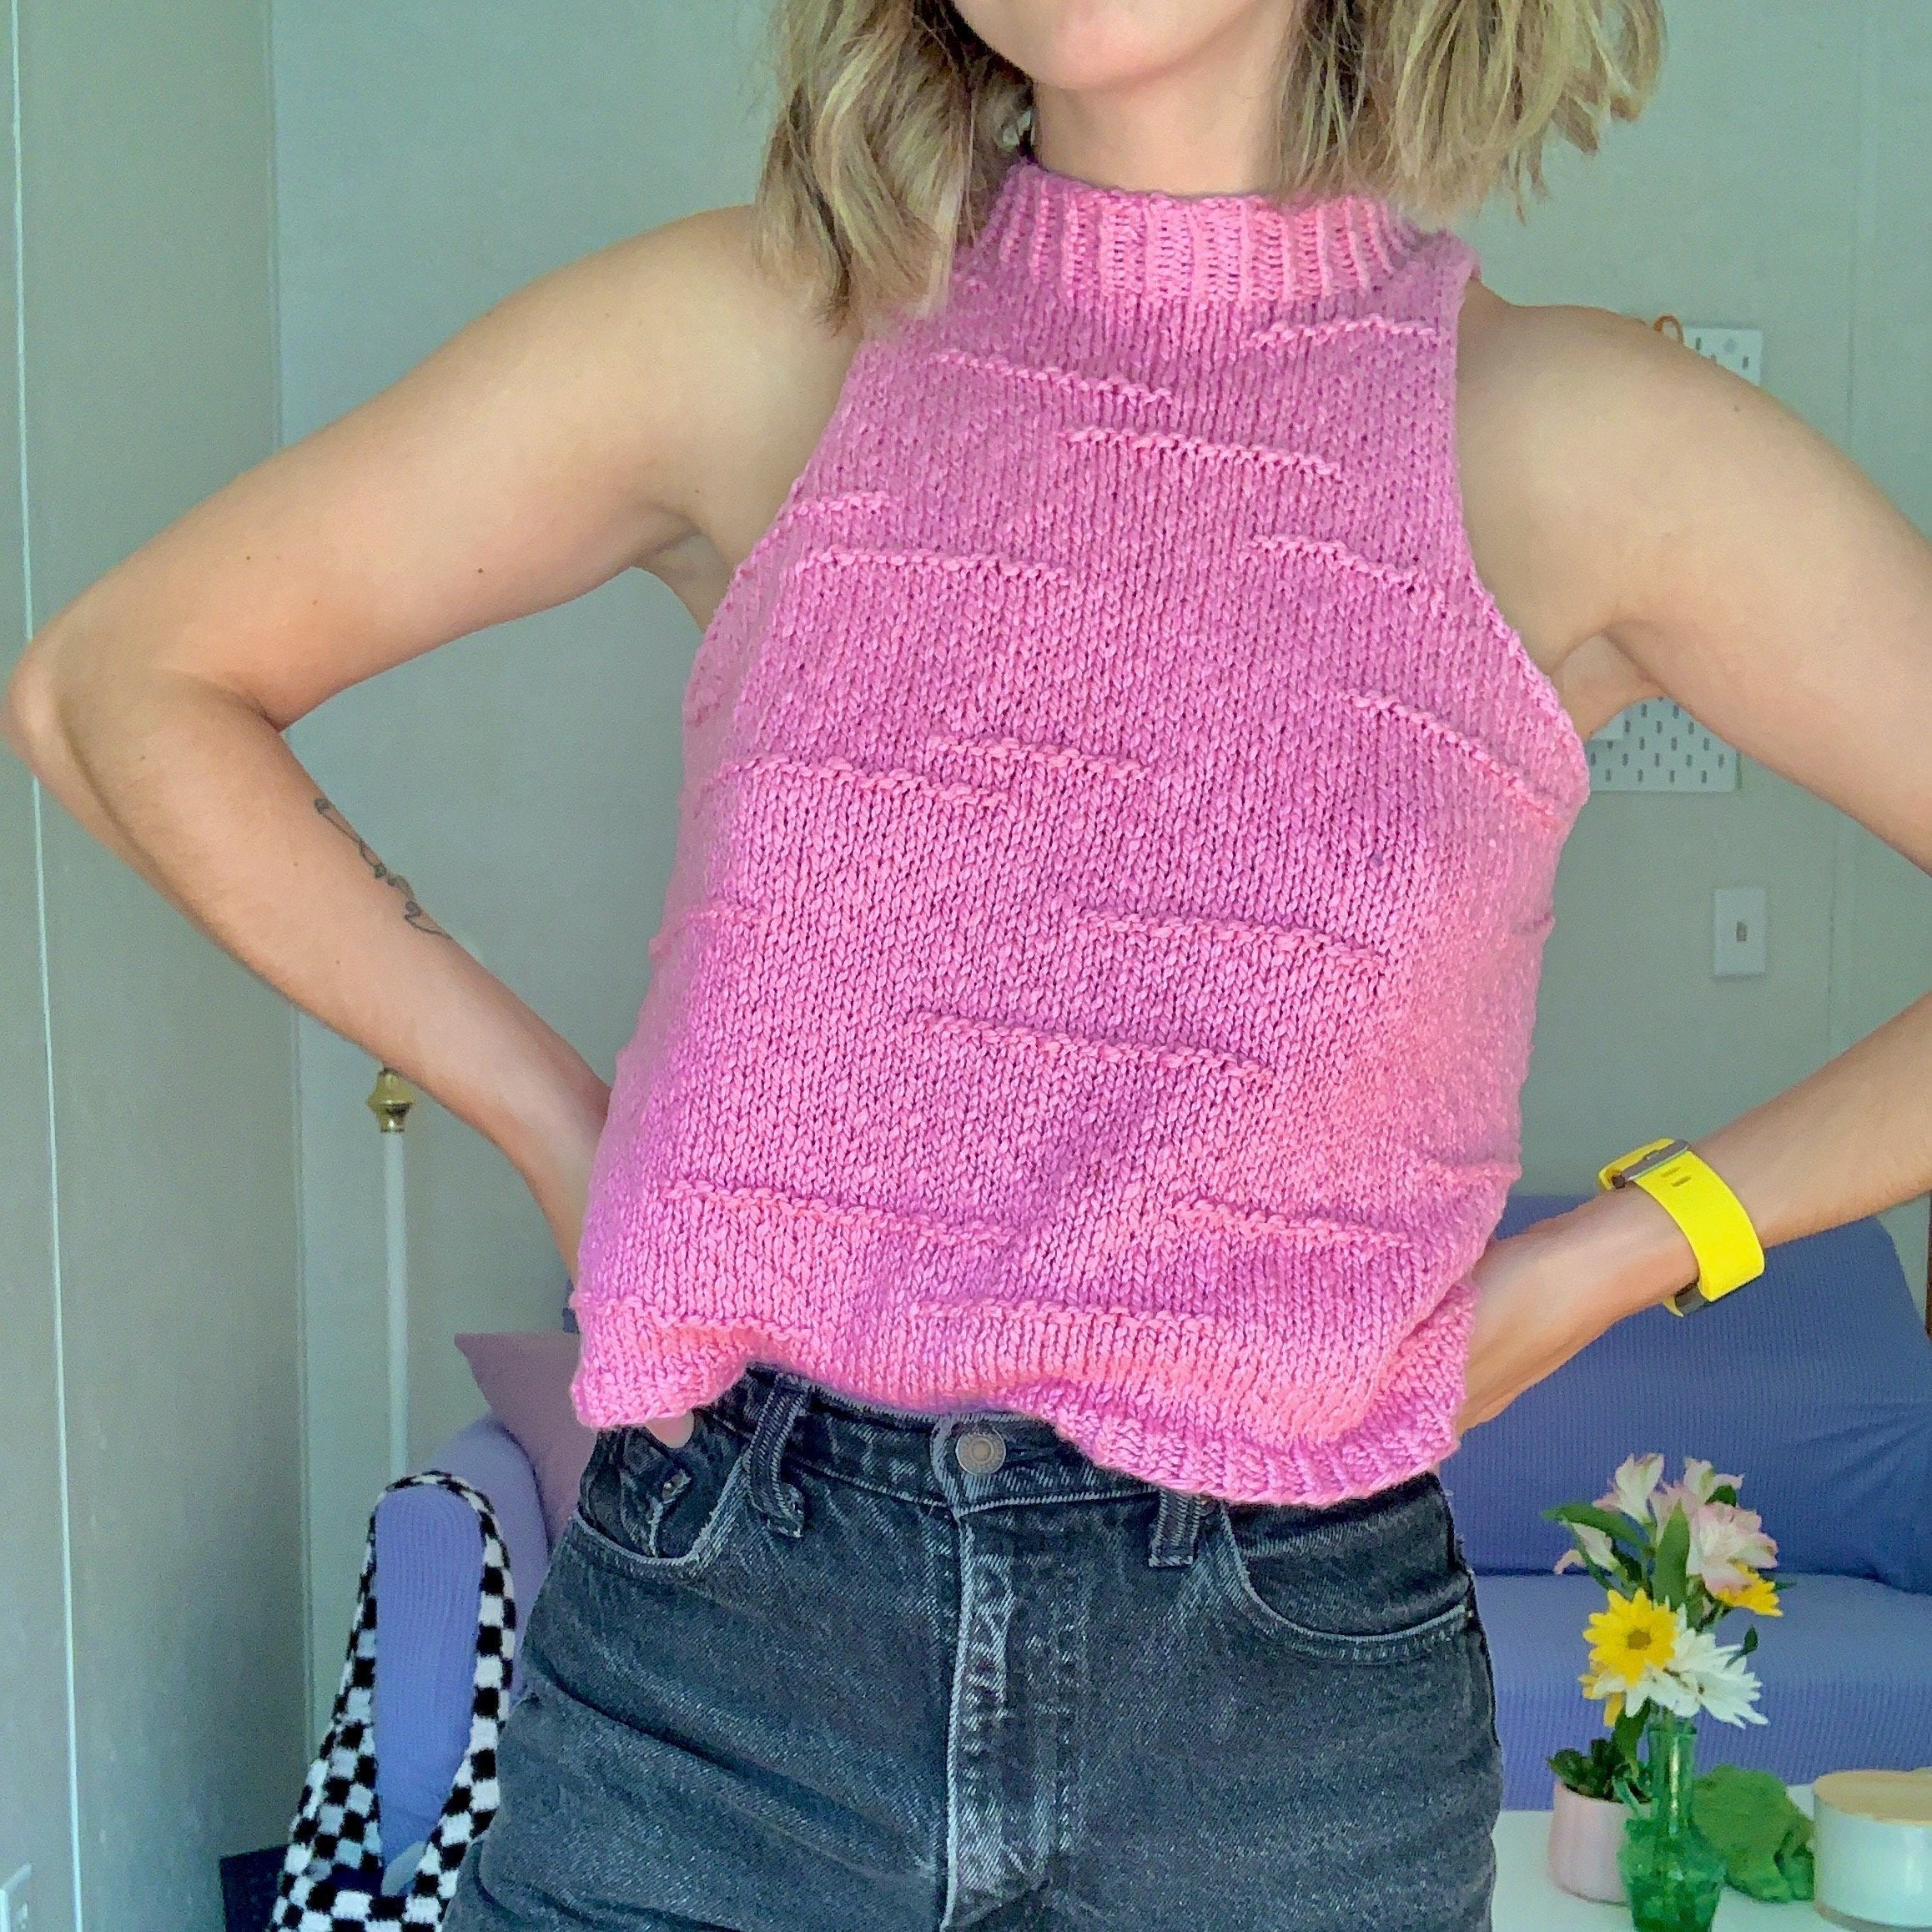
One thing I used to struggle with A LOT was taking photos of myself wearing my knitted garments. I could never get the right angle and my partner hates playing photographer for me (and he isn’t very good at it, either. Honey, if you’re reading this, I’m sorry, but it’s true). I put off buying a tripod for a very long time, but I can’t tell you how happy I am that I did! The tripod I bought didn’t cost much, and I have used it far more than I can count. Not only does it help me find the right angle, but it takes the pressure off of having someone else take a bunch of photos of me (that I don’t end up liking very much anyway. Sorry again, sweetie). If you are struggling with these same issues, I highly recommend getting a tripod. This tripod is relatively cheap and works super well for me. (Please note that this link is an affiliate link. If you make a purchase after clicking, I earn some yarn money at no extra cost to you.)
3. Natural light is your BFF
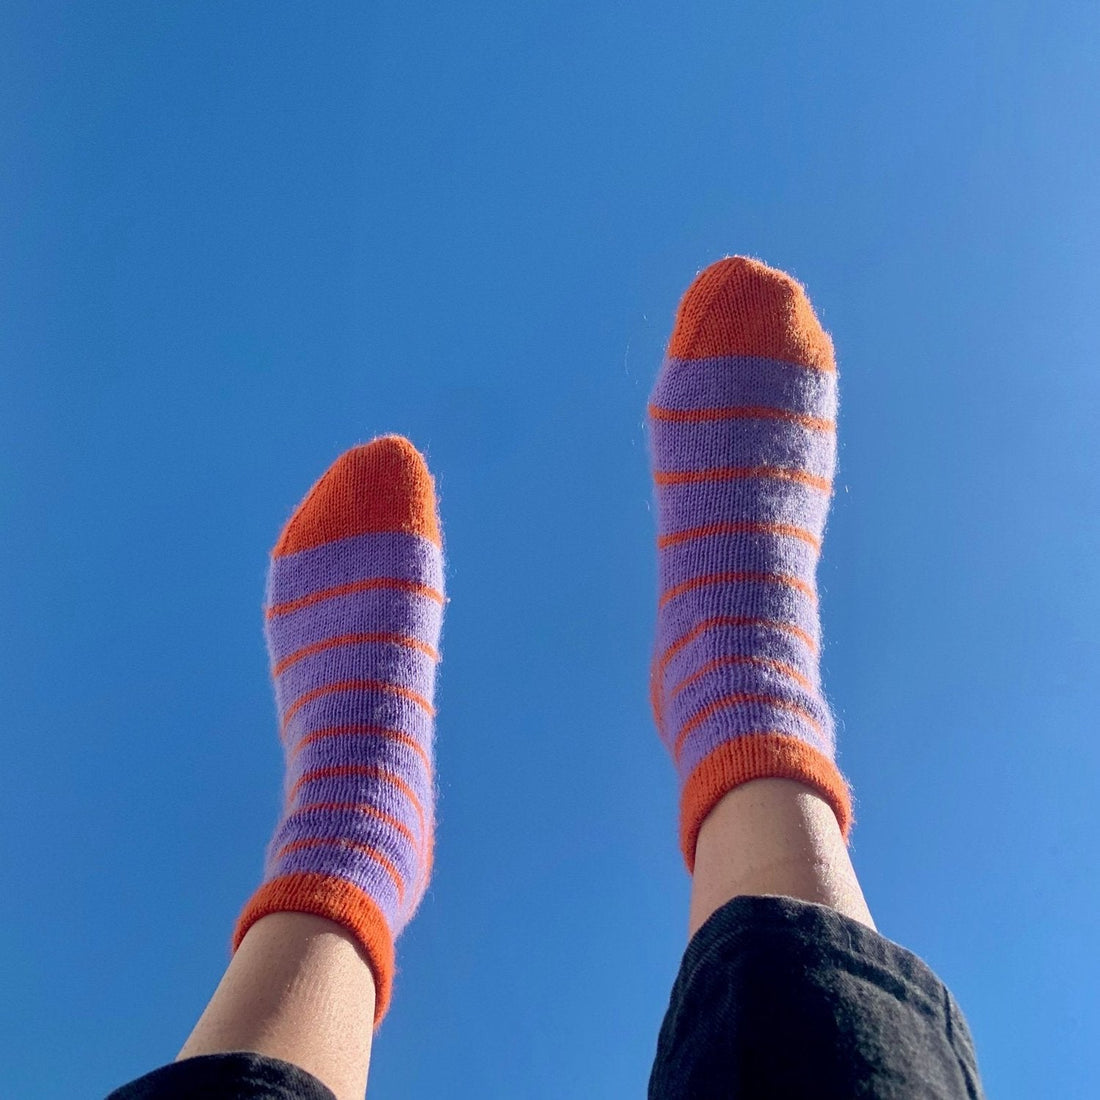
When taking photos or videos, it is hands down, best practice to do so in natural light. If you can, try to coordinate when you take photos and videos on a nice day. You can take pictures outside or inside near a window. However, you want to avoid direct, harsh sunlight because that can mess with the exposure and wash out your photos or videos (and make you squint if you’re in the pic).
Another big tip when it comes to lighting is to not put your light source behind the object you’re trying to focus on. That makes the focus of the picture hard to see. Instead, flip things around! You want the light to land on the object.


4. Focus, focus, focus
If you’re using a smartphone to take your pictures and videos, focusing is super easy but makes a huge difference. You should be able to simply tap the screen of your phone where you want the camera to focus, and it should adjust accordingly. This tip is helpful no matter what, but I have found it especially helpful when taking up close knitting videos and taking photos where the main object is much closer to the camera than the background. Play around with it and see how much it can help!
5. Rule of thirds
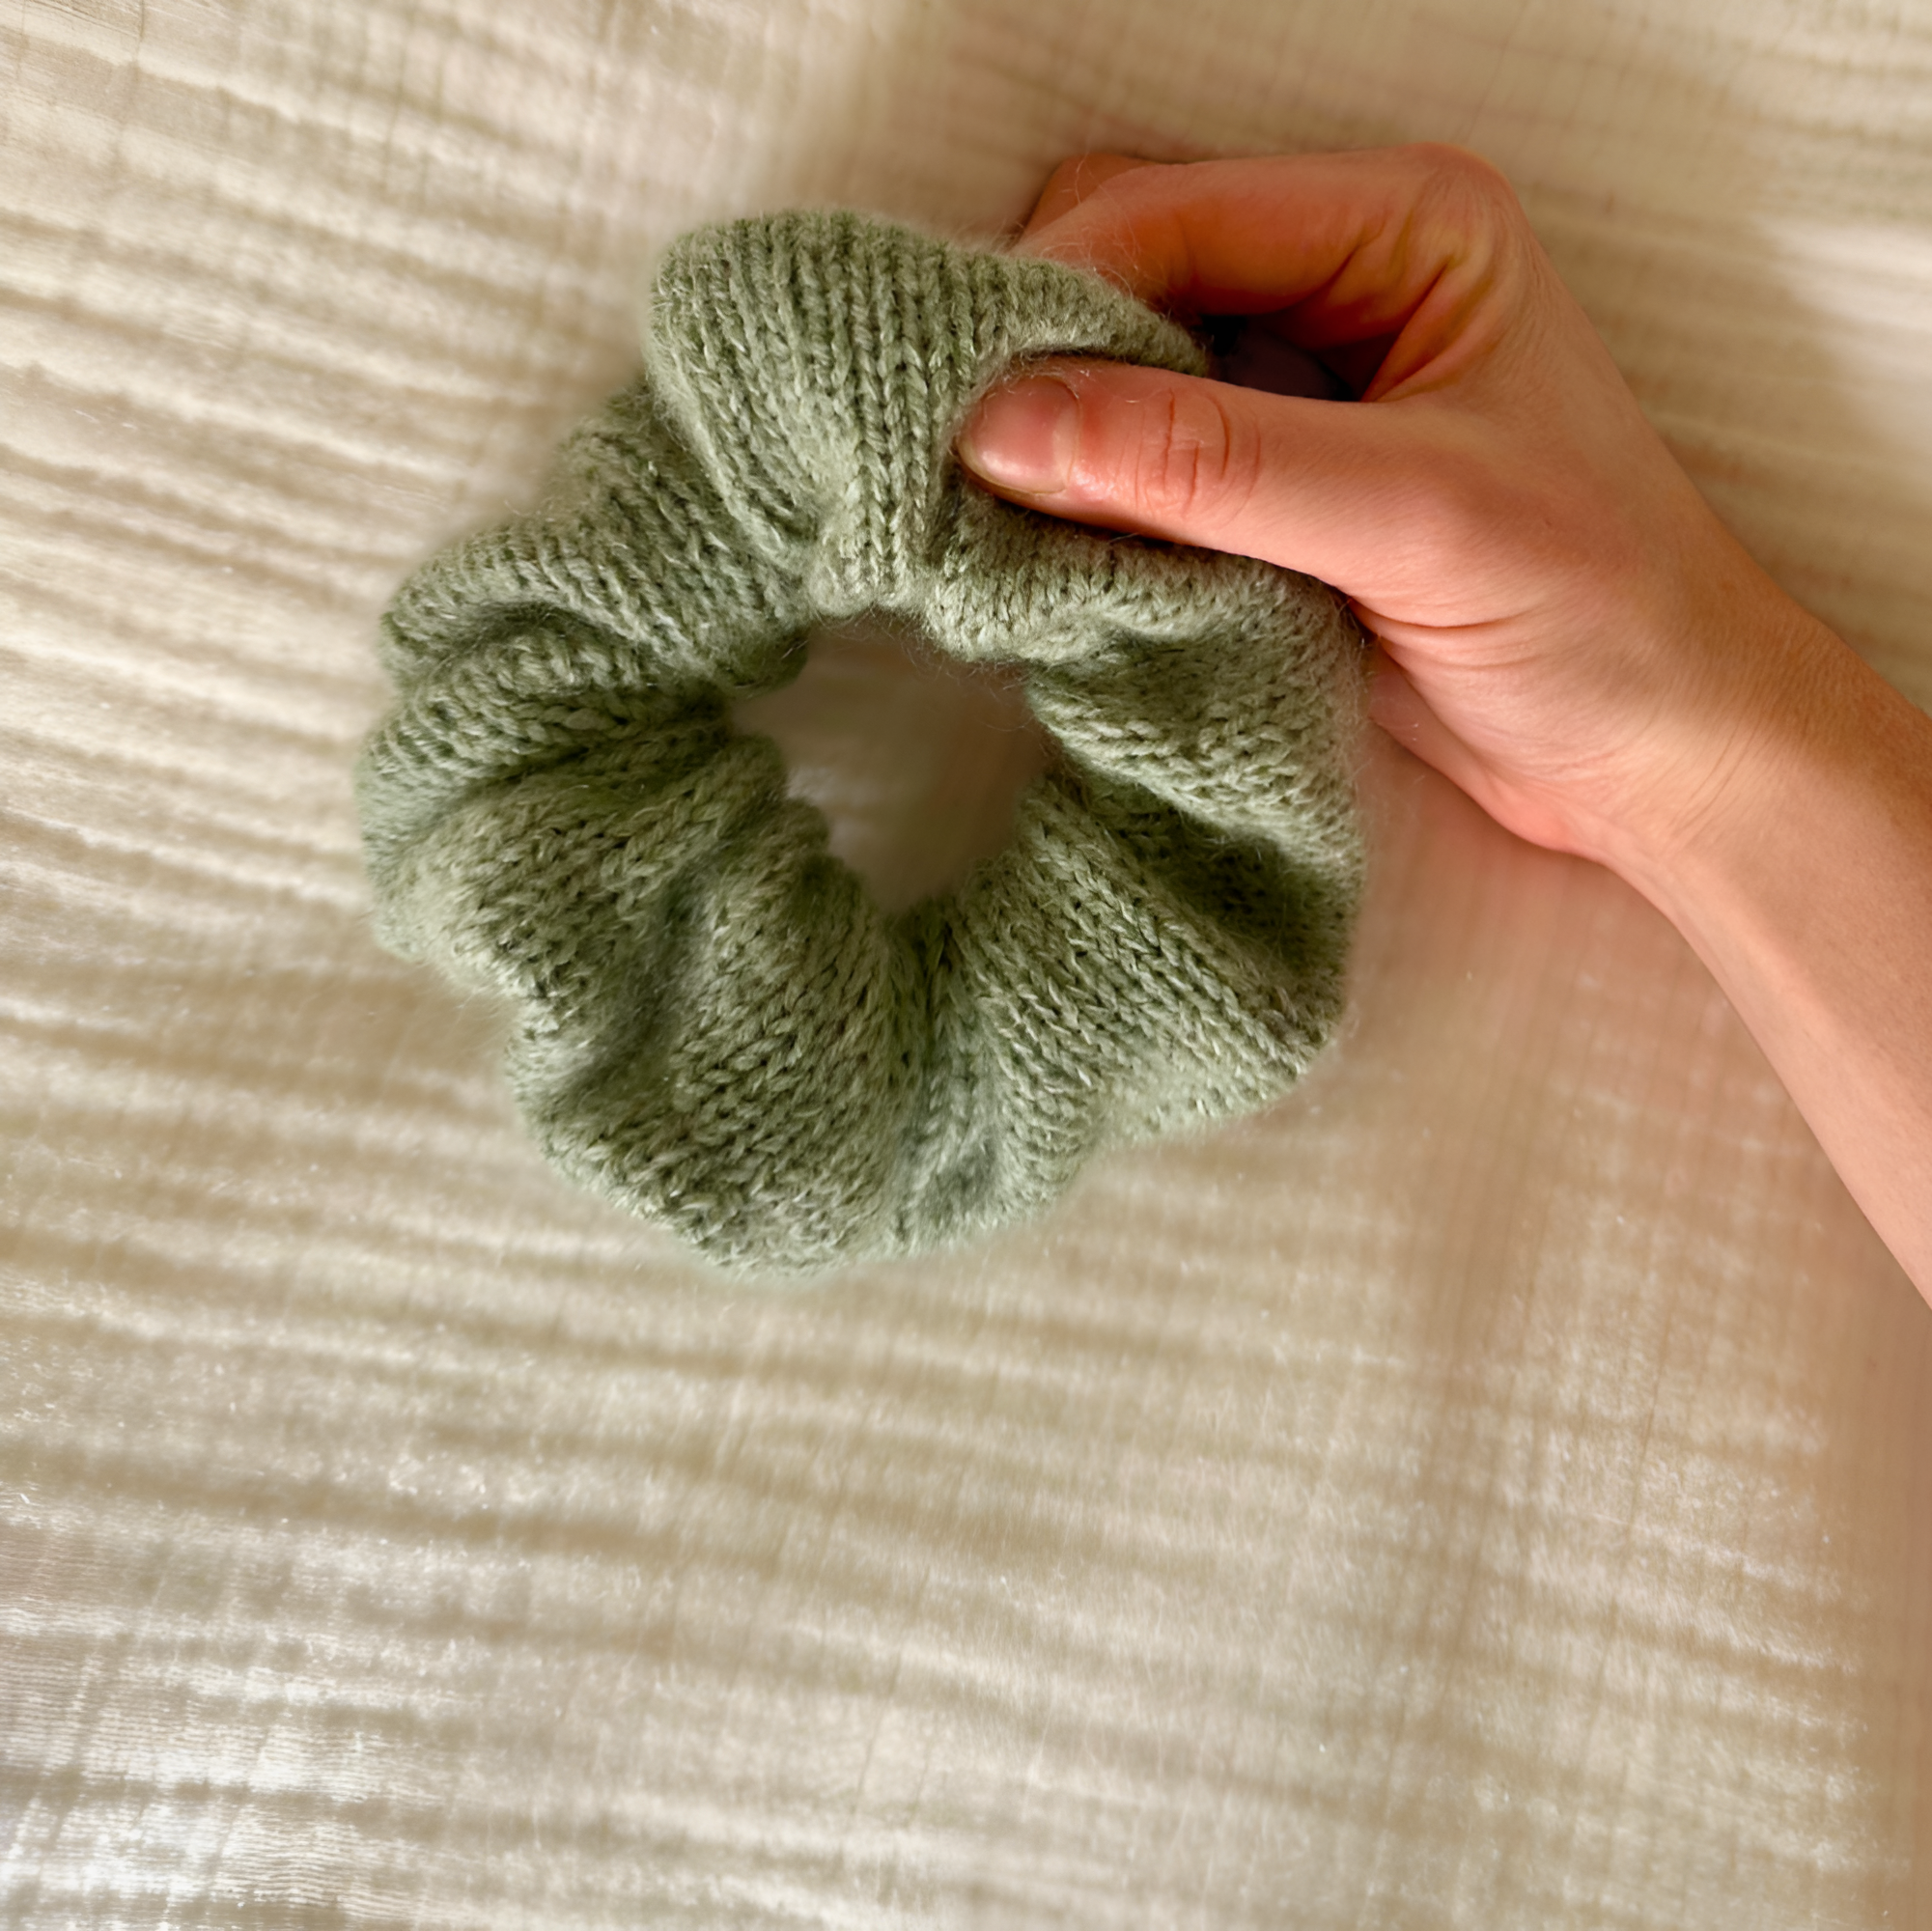
I learned this photography tip a little while ago, and it has been a serious game changer for me. The rule of thirds involves dividing your image into two vertical and two horizontal grid lines. Positioning important objects along those lines or where the lines meet is a helpful way to create more visually engaging and well-balanced photos. The rule of thirds isn’t a hard -set rule, but more of a helpful guideline. It can be very handy when taking any sort of picture. However, I find it the most helpful whenever I’m taking a flat-lay photo with props. Referencing the grid lines can help me determine where to place the main object and where to add props to highlight it.
Tip! You can add the gridlines to your iPhone camera by going to phone settings → camera → and toggle the “Grid” button under “Composition”.

6. Try different angles
There is nothing more frustrating than spending time taking SO many photos where you adjust yourself or your props over and over, only to be unhappy with every single picture. The problem in this case isn’t you or the props – it could be the angle! If you’re taking photos of yourself, move your tripod around (if you listened to tip #2) or simply adjust the angle of the phone. If you’re taking a flat-lay photo, move yourself and your camera around the setting to get different perspectives. One might make things pop just right.
7. Avoid dark, cluttered, or messy backgrounds
If you’ve looked up photography tips before, you might have seen that you need a clean, white background for your images. However, I really disagree with that. I think your backgrounds can really be whatever you want, as long as they don’t distract from the main idea or object of the photo. One way to help prevent distraction is to avoid dark, cluttered, or messy backgrounds. If you’re taking a photo of yourself in your home, angle the camera away from the laundry on the couch. If you’re taking a flat-lay photo, avoid putting your knitting and props on a loud, printed fabric. And hey, if you want to go with a clean, white background, that works too!


8. Keep things consistent
Like the rule of thirds, this is more of a suggestion than a hard-set rule. However, it can be a good idea to take photos with a consistent color palette, feel, and even background and types of props. If you plan on sharing your photos on social media, then this kind of consistency can help your followers know what to expect from the content you share. And! This tip makes things easier for you! You don’t need to stress about thinking of new places to take your next picture. Just do what you can, whether that’s in your home or in front of that cute wall behind your apartment. Whatever works!
9. Use props
Props are great to have specifically for flat-lay photos! They can help to add dimension, color, ~vibes~, and texture to your photos. Great aesthetic props to highlight your knitted items are knitting tools, plants, books, knickknacks, or a cozy mug of tea or coffee. However, one potential issue with using props is that you can easily clutter your photo and take the highlight away from your knitting. A Bee in the Bonnet has a great blog post with more in-depth guidance on how to layout and use props if you’re interested in learning more.
10. Edit!
After following all the tips above, you are bound to come up with some very solid photos and videos of your knitwear. However, what takes your photos from good to great is editing! And if you have an iPhone, I’ve made the process super easy for you! Click the button below to download my favorite editing settings for my knitting photos and videos! (And if you don’t have an iPhone, you may be able to make equivalent edits in your photo app!)
Thank you so much for reading, and I hope you found these tips helpful! What’s your favorite photo or video hack? Comment below!